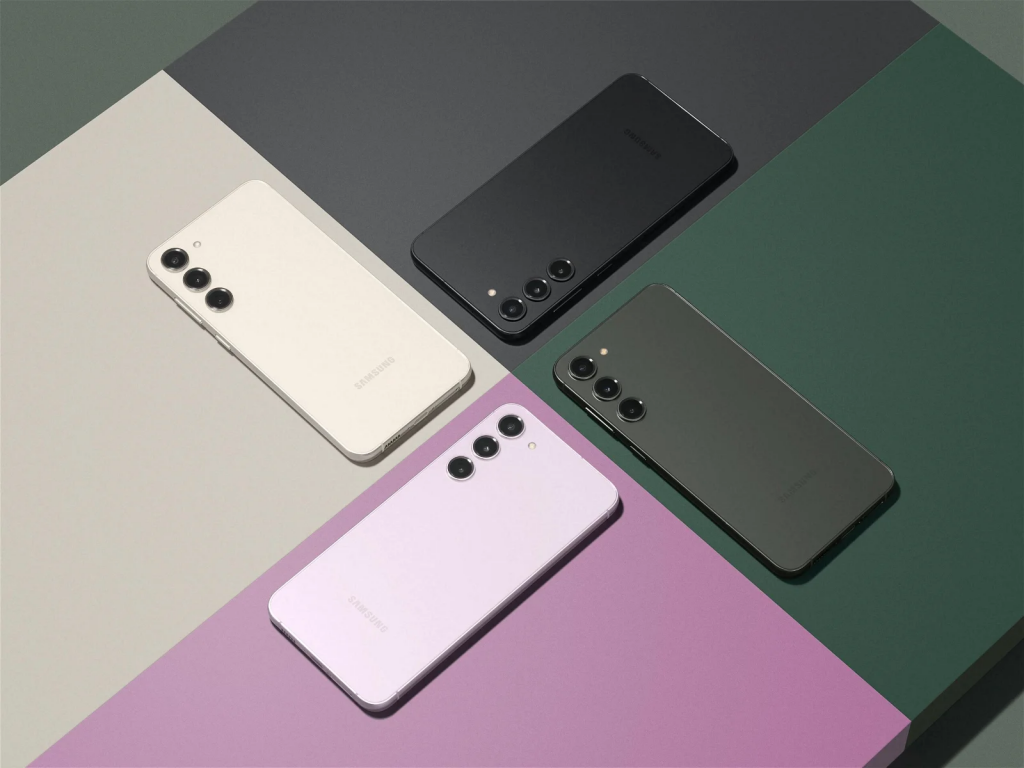
In the age of selfies and Instagram, our phone cameras have become indispensable tools for capturing life’s most precious moments. But have you ever stopped to wonder what all those settings in your camera app actually do? Understanding your phone’s camera settings can be the key to unlocking its full potential and capturing stunning photographs. Let’s delve into the world of aperture, ISO, and white balance, and demystify the technical jargon that will help you take your photography game to the next level.

Mastering the Basics: Understanding Exposure, ISO, and White Balance
When it comes to taking great photos with your phone, understanding the basics of exposure, ISO, and white balance is essential. These three settings can make a big difference in the quality of your photos, whether you’re capturing a stunning landscape or a candid moment with friends.
Exposure: Exposure refers to the amount of light that reaches your phone’s camera sensor. Adjusting the exposure can help you achieve the perfect balance of brightness and darkness in your photos. A higher exposure will make your photos brighter, while a lower exposure will make them darker. Play around with the exposure settings on your phone to find the right balance for each shot.
ISO: ISO measures the sensitivity of your camera sensor to light. A lower ISO setting is ideal for bright lighting conditions, while a higher ISO setting is better for low-light situations. Keep in mind that a higher ISO can introduce noise into your photos, so try to use the lowest ISO setting possible while still capturing a well-exposed image.
White Balance: White balance ensures that the colors in your photos look accurate and natural. Different lighting conditions can create a color cast in your photos, such as a warm yellow tint in indoor lighting or a cool blue tint in outdoor lighting. Adjusting the white balance settings on your phone can help correct these color casts and produce more true-to-life images.
Unlocking the Power of Manual Mode: Tips for Adjusting Aperture and Shutter Speed
So you’ve mastered the basics of your phone’s camera settings, but now it’s time to take your photography skills to the next level by delving into the world of manual mode. Understanding how to adjust the aperture and shutter speed on your phone can unlock a whole new realm of creative possibilities.
When adjusting the aperture in manual mode, remember that a lower f-stop number (e.g. f/2.8) will give you a shallow depth of field, perfect for stunning portrait shots with a beautifully blurred background. On the other hand, a higher f-stop number (e.g. f/16) will result in a larger depth of field, ideal for landscape photography where you want everything in focus.
Next, let’s talk about shutter speed. A faster shutter speed (e.g. 1/1000) is great for freezing fast-moving subjects, such as sports or wildlife photography. On the other hand, a slower shutter speed (e.g. 1/30) can create stunning motion blur effects, perfect for capturing the flow of a waterfall or the movement of traffic at night.
Exploring Advanced Features: Utilizing HDR, Panorama, and Portrait Mode
When it comes to taking photos with your phone, there are a variety of advanced features that can help you capture stunning images. One of the most commonly used features is HDR (High Dynamic Range), which combines multiple exposures to create a more balanced and dynamic image. By enabling HDR mode on your phone, you can capture photos with greater detail in both the shadows and highlights.
Another useful feature is Panorama mode, which allows you to capture sweeping landscapes or wide group shots with ease. Simply select Panorama mode, follow the on-screen instructions to pan your phone in a steady motion, and watch as your phone stitches together a seamless panoramic image.
For those looking to take professional-looking portraits, Portrait mode is a must-have feature. This setting creates a shallow depth of field effect, blurring the background and making your subject stand out. Portrait mode is perfect for capturing beautiful portraits of friends and family, or even artistic selfies.
Optimizing Your Settings: Customizing Gridlines, Focus, and Filters
In order to truly harness the full potential of your phone’s camera, it’s important to understand and optimize its settings. Customizing gridlines can help you compose better shots by following the rule of thirds. By dividing your frame into thirds both vertically and horizontally, gridlines can guide you in placing key elements in the most visually appealing areas.
Another crucial setting to tweak is the focus. Whether you prefer auto-focus or manual focus, adjusting this setting can ensure that your subjects are sharp and clear. Experiment with different focus modes to find the one that works best for your specific photography style.
Filters are a fun and creative way to add flair to your photos. From vintage-inspired filters to artistic effects, there are endless options to enhance your images. By customizing filters, you can give your photos a unique and personalized touch. Get creative with your filter combinations and see how they can transform your photos into works of art.
| Setting | Description |
|---|---|
| Gridlines | Divides the frame for better composition |
| Focus | Adjusts sharpness of subjects |
| Filters | Adds creative effects to photos |
As you continue to explore the intricate world of your phone’s camera settings, remember that each adjustment has the power to transform your photography experience. From mastering exposure to unlocking the hidden potential of your device, the possibilities are endless. So go forth, experiment, and capture the world in ways you never thought possible. Happy shooting!


